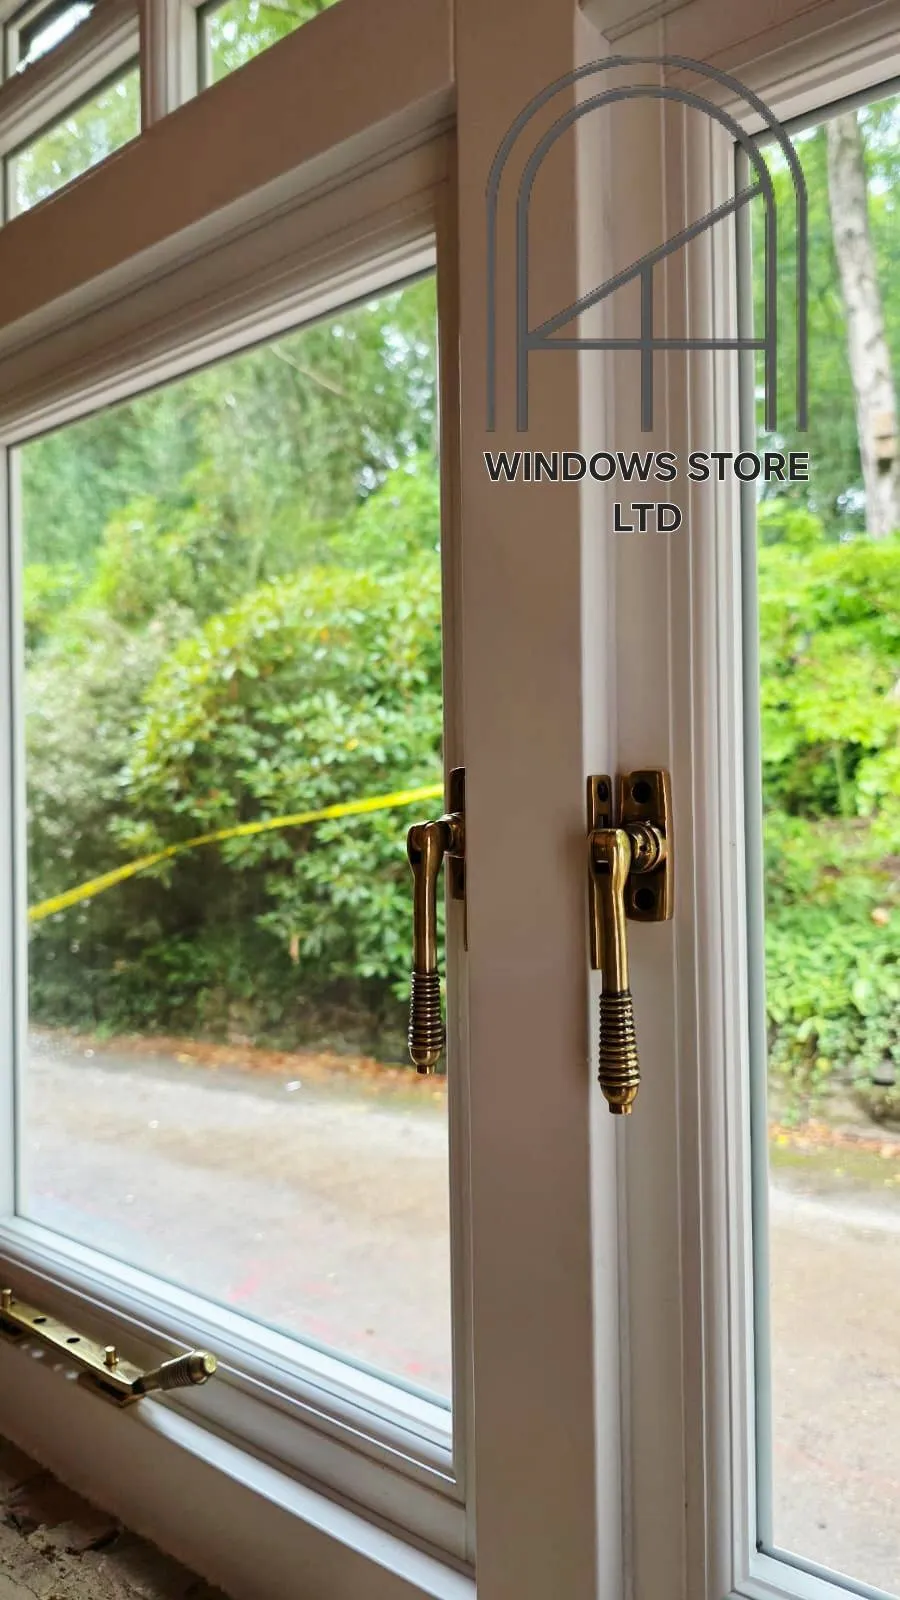
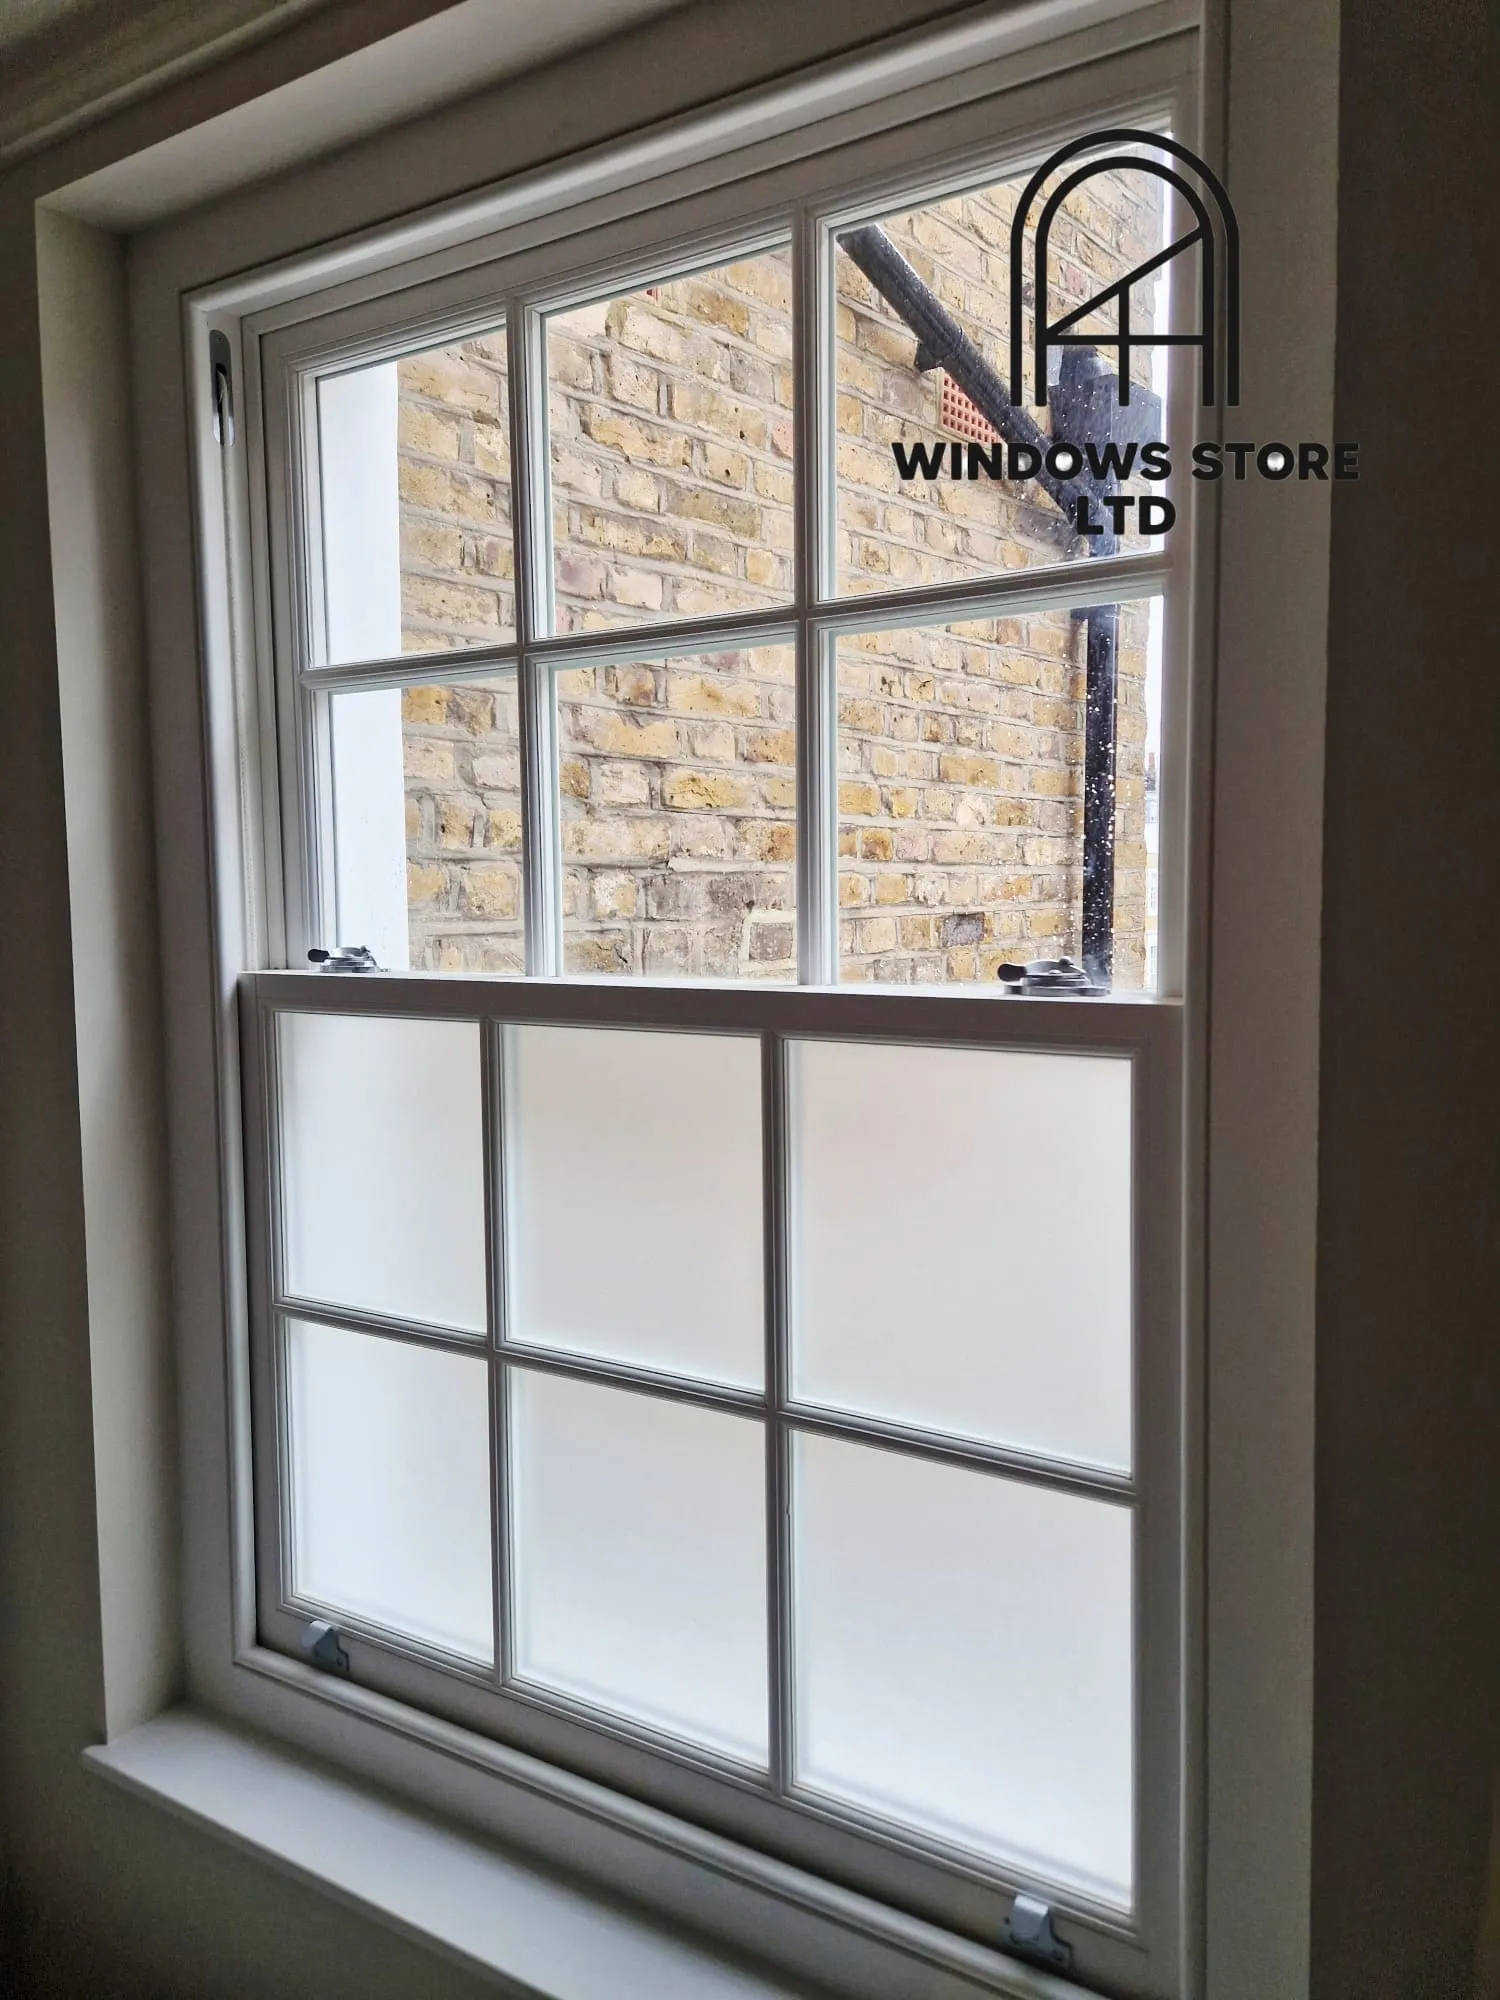
How can you stop draughts around sash windows?
Draughts around sash windows usually come through worn seals, gaps between the moving sashes or poorly fitted joints around the frame. Draught proofing and adjustments can improve a sound timber window, but decayed wood, distorted frames and loose glazing need attention before new seals can work properly.

A draughty sash window does not always need replacing. Before choosing a repair or ordering new windows, the important step is to find where the air is coming through and check the condition of the timber. A gap around a moving sash needs a different solution from a gap between the window frame and the wall.
Traditional timber sash windows need clearance to slide open and shut. When that clearance becomes excessive, or the seals no longer make contact, outside air can enter around the edges. The result can be a cold patch beside the window, moving curtains and a room that feels uncomfortable even with the heating on.
Finding where the draught is coming from
Start with the window fully closed and fastened. Move your hand slowly around the edges of both sashes, along the meeting rails and across the bottom rail where it meets the sill. On a breezy day, a light tissue held near these joints can help reveal air movement.
The meeting rails are the horizontal sections where the upper and lower sashes meet when closed. If they do not line up correctly, the window may leave a gap even when the fastener appears to be shut. Paint build-up, worn fittings or a sash that does not sit squarely can contribute to this problem.
Check the sides of the moving sashes as well. The staff beads and parting beads help guide and retain the sashes. Wear, damage or poorly fitted replacement beads can leave uneven clearances that allow air through.
A separate draught may come from the junction between the fixed frame and the surrounding wall. Cracked internal decoration can be a clue, but the visible crack does not always show the full extent of the gap behind it. Sealing the moving parts will not solve air leakage around the outside of the frame.
Draught proofing a sound timber sash window
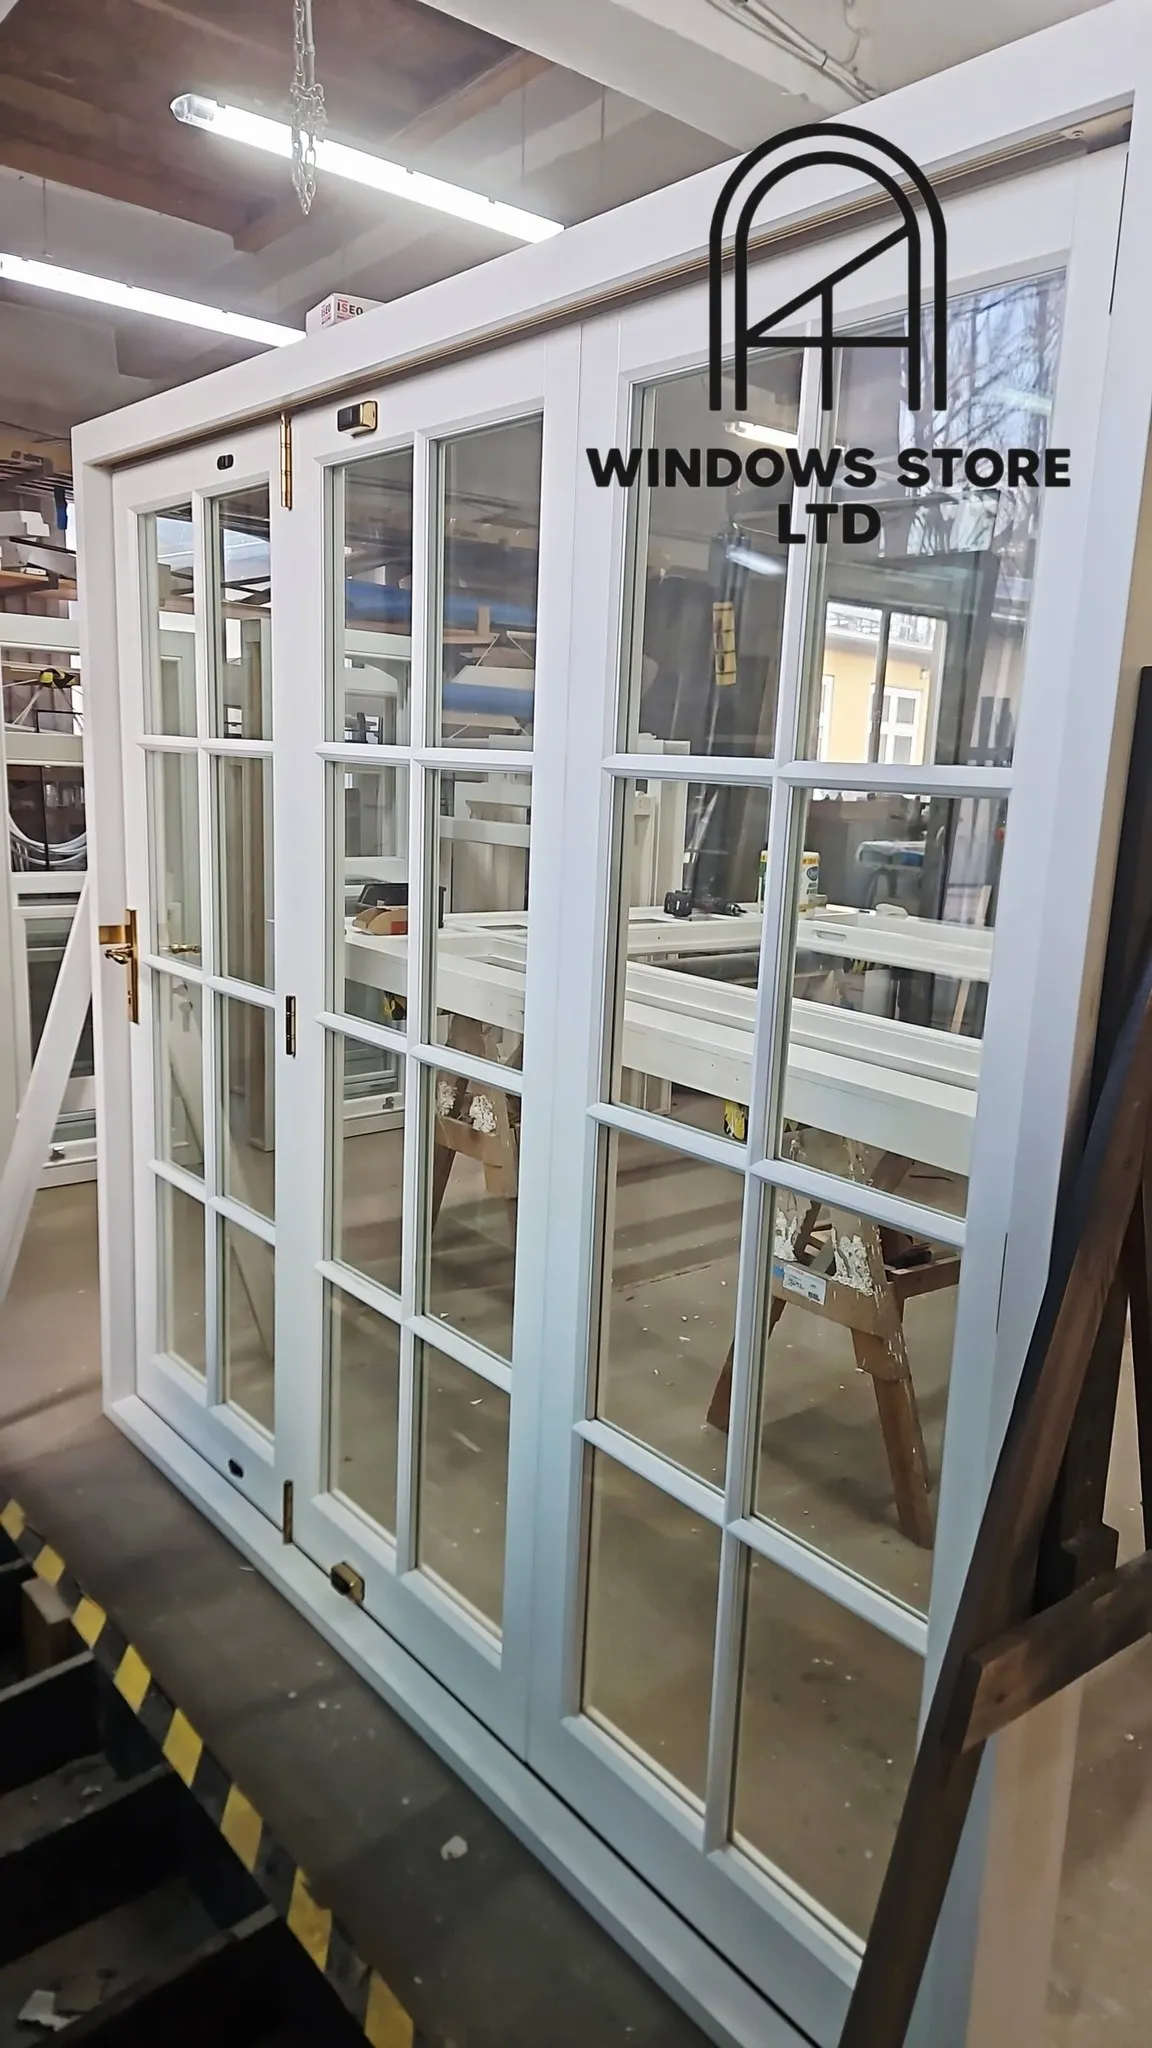
Professional sash window draught proofing commonly uses brush seals fitted into suitable beads or machined grooves. The aim is to reduce unwanted air movement while allowing the sashes to travel smoothly.
The seal must suit the clearance at each joint. A brush that is too small may leave a draught, while one that is too large can make the window difficult to open and close. Uneven gaps may need joinery adjustments before a seal can make consistent contact.
A proper assessment should cover the full window, including the meeting rails, sash edges, top rail and bottom closing joint. Treating only the most obvious gap can leave other leakage paths open.
Self-adhesive foam strips can offer a temporary improvement in some locations, but they are often unsuitable for sliding surfaces. They can peel away, collect dirt or compress until they stop sealing. Adding thicker strips repeatedly can also prevent the sashes from closing correctly.
Silicone and decorators’ caulk should not be used to seal moving sashes shut. Fixed joints may need an appropriate sealant, but the opening parts need a solution that preserves their movement and access for maintenance.
Adjustments and repairs that help seals work
Draught proofing works best when the window closes in the correct position. A sash that sits at an angle or stops short of its closing point should be inspected before new seals are fitted.
Paint build-up can prevent the sashes from travelling fully. Removing the obstruction carefully may restore the closing position, although older paint coatings need suitable assessment and handling before disturbance.
The sash fastener also deserves attention. On a correctly aligned window, a suitable fastener helps bring the meeting rails together. It should not be used to force distorted or badly aligned sashes into position. If considerable pressure is needed to close it, the underlying fit needs checking.
Sash cords, pulleys and weights affect how the window moves and stays in position. Broken cords or an incorrect balance can make operation difficult and prevent the window from being used properly. Replacing a cord alone will not seal a gap, but it may form part of the work needed to restore the window.
Loose putty, damaged glazing beads and open timber joints need separate repairs. Brush seals around the sash edges cannot stop air passing through a failed joint elsewhere in the construction.
Choosing between repair and replacement
The condition of the timber matters more than the age of the window alone. A sound frame with local wear may be suitable for repairs and draught proofing. Extensive decay, significant distortion or repeated failed repairs can make replacement a more practical option.
Particular attention should be paid to the sill, bottom sash rails and joints where water can collect. Soft timber, open joints and failing coatings can indicate deterioration that needs closer inspection. Covering these areas with filler and paint does not necessarily provide a lasting repair.
| Window condition | Work to consider |
|---|---|
| Sound timber with gaps around moving sashes | Adjustments and correctly sized draught seals |
| Sashes that do not close or align properly | Repair the cause of the poor fit before sealing |
| Localised timber decay or loose glazing | Targeted joinery and glazing repairs, followed by draught proofing |
| Extensive decay or substantial distortion | Assess replacement sashes or a complete replacement window |
| Air leakage between the frame and wall | Inspect and seal the fixed perimeter joint appropriately |
Replacement sashes may be an option where the existing box frame remains sound and suitable for reuse. A complete replacement may be needed where the frame itself has deteriorated or cannot provide a reliable base for the new work.
For a period property, replacement timber sash windows should be considered alongside the existing proportions and details. Glazing bars, meeting rails, sash horns and frame dimensions all affect the finished appearance. Any relevant planning restrictions should be checked before changing the windows.
Understanding draught proofing and double glazing
Draught proofing and double glazing address different sources of discomfort. Draught seals reduce unwanted air leakage through gaps. Double glazing reduces heat transfer through the glass compared with a comparable single pane, but it does not correct a poorly closing sash or an unsealed frame perimeter.
A double glazed sash window can still feel draughty if the seals are missing, damaged or incorrectly fitted. Equally, a carefully repaired single glazed window may become more comfortable after draught proofing while still losing heat through the glass.
Cold glass can also cool the air beside it, creating a downward flow that feels similar to a draught. This is why checking for actual air leakage matters before deciding which work will solve the problem.
Where replacement is appropriate, assess the complete window specification. The glazing, timber construction, seals, hardware and installation all contribute to the result. Choosing a glass specification alone does not establish how well the finished window will perform.
Keeping sash windows comfortable and usable
After repairs or installation, both sashes should move smoothly and close fully. Check that the fastener engages without excessive force and that the seals remain in contact at the closing joints.
Keep sliding channels clean and avoid painting over brush seals during redecoration. Heavy paint build-up can restrict movement and interfere with the fit that the draught proofing was designed around. Damaged seals should be replaced with a suitable size rather than covered with additional strips.
Reducing uncontrolled draughts also makes it important to consider how the room is ventilated. Keep intended ventilation routes working and use extractor fans where provided. A draught through a damaged joint should not be treated as a substitute for planned ventilation.
Windows Store Ltd can assess whether existing timber sash windows are suitable for repair or whether replacement would provide a more dependable result. The useful starting point is an inspection of the timber, closing joints, glazing and frame perimeter, so the proposed work addresses the actual source of the draught.